I left my last post with a plan, to print and test fit some FPC’s.
It didn’t go that well.
 The final custom FPC design
To recap
So for my internal Consolizer project one of the most difficult parts is going to be intercepting the button presses.
I need to allow the original buttons to work but also allow the Arduino to trigger button presses, potentially at the same time.
The original plan was to build small adapter FPC’s. These would sit in between the PSP’s original FPC and its motherboard. Thus giving us our hook to tap into those signals.
After numerous design iterations (lots of printing and cutting and making tiny changes) I’ve concluded I just can’t make that work. There isn’t enough space.
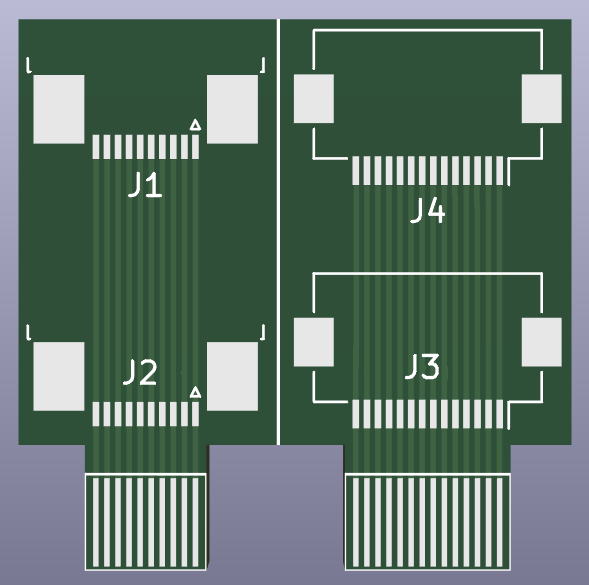 First Buttons Design
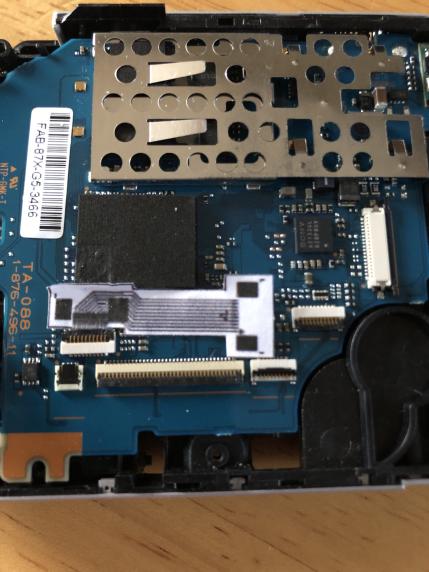 First Buttons Test Fit
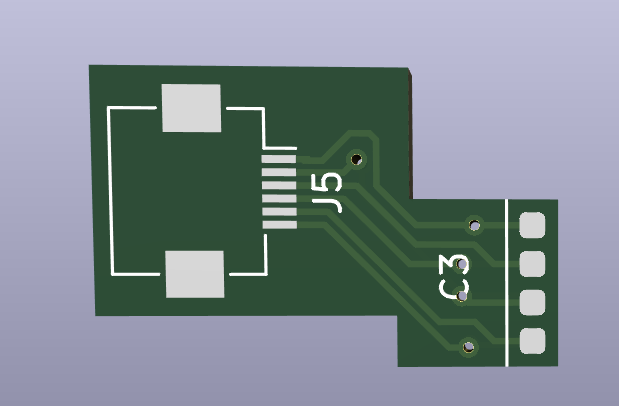 First Analog Stick Design
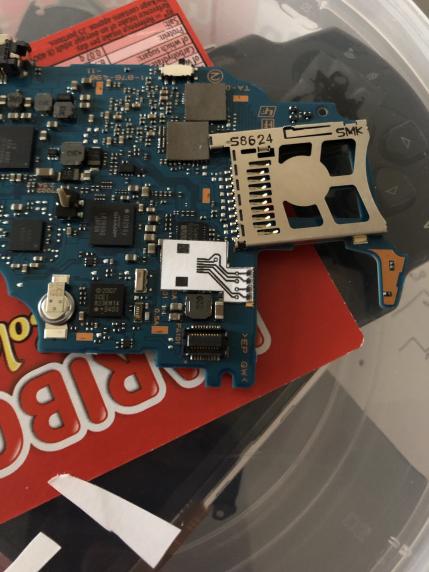 First Analog Stick Test Fit
The Solution
Well if I can’t intercept the signals what can I do? The idea I stopped on was to replace the PSP’s FPC’s entirely. One for the left and one for the right.
They aren’t complex and that would allow me to intercept the signals in any way I want.
The left FPC is smaller and simpler so started with that.
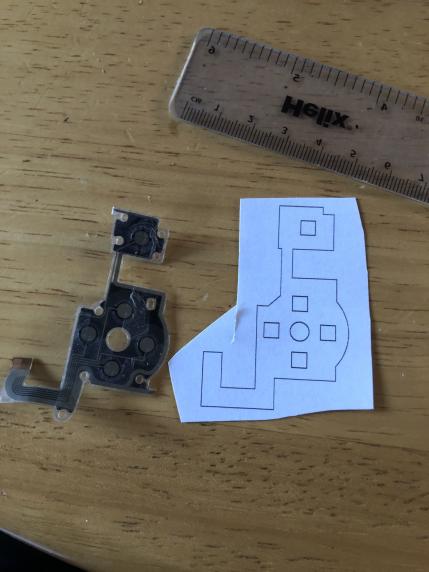 First attempts at recreating the FPC shape
Much like the adapters the process of re-creating the original involved lots of printing to paper, cutting out and offering up to the PSP.
There must have been at least a dozen attempts before everything fitted nicely and the button footprints lined up.
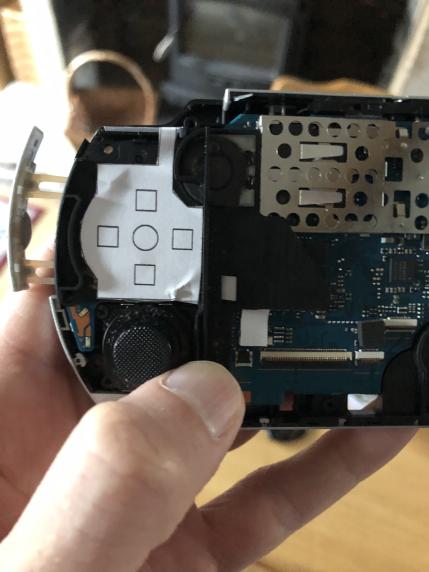 Buttons seemed to line up
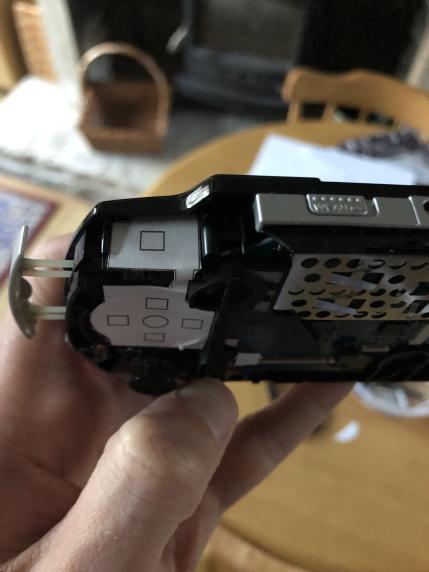 Even the shoulder button lined up
Once the board layout was right there was another problem.
The Buttons
Most controller buttons work with an exposed footprint on the PCB and a carbon pad embedded within the button rubber. This causes a short when the button is pressed and triggers a signal.
The PSP does this, but differently. The FPC is dual layer. The bottom layer has the footprint, the top layer the carbon pad. It’s all self contained.
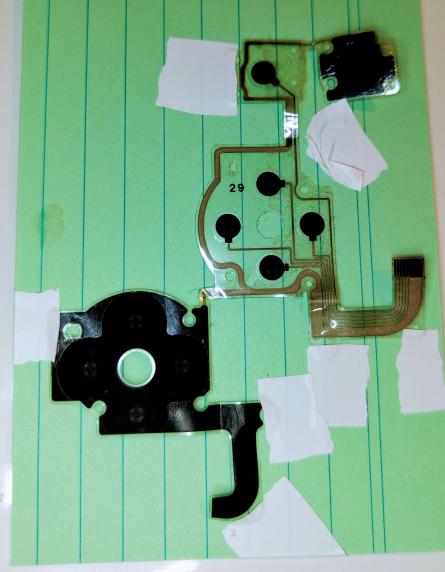 The original FPC. Image courtesy of Peter Lustig from the PSP Homebrew Discord
This probably makes it more robust, stops buttons failing to register when they get old. It also makes it very difficult to replicate. I’m not even sure it’s possible for a DIYer.
So I had to find an alternative. I settled upon micro tactile switches like those used in the Gameboy SP.
They can come in a wide range of sizes so I just needed to measure the height of the original button rubbers and find a switch as close to that as I could.
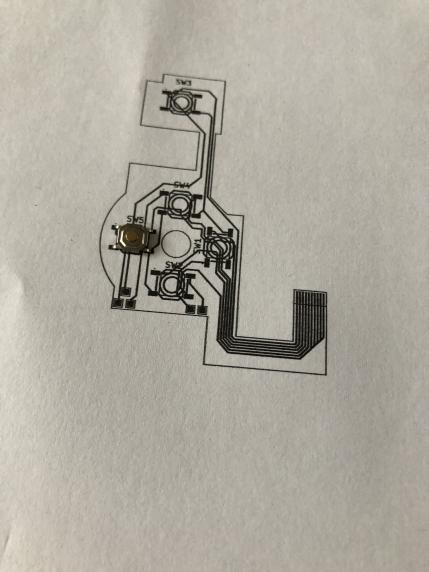 Custom left button FPC out on paper
 The final custom FPC design
Final Stretch
So with the problems addressed I thought I could go ahead and have my FPC made. I had spent hours printing and test fitting; found the right tactile switches it was all good to go.
Yea it didn’t work out like that.
The cheapest quote I got was from OSHPark, about $35. Not amazing but not out of my reach.
Sadly the cheapest tracking shipment on top of that was around another $35.
All in so far were around £57. Getting a bit rich for my tastes but I was tempted.
The nail in the coffin was VAT. I have no idea if this is Brexit shafting us, an odd EU thing or just the way it is. But OSHPark doesn’t seem to handle VAT properly anymore.
I’ve read multiple accounts on Twitter of overseas customers paying VAT at checkout, but then when goods arrive getting customs charges. They end up paying VAT twice and handling fees.
All that added up would put it way out of my price range.
To Finish Up
So, if you’re still here, we have a nicely designed replacement FPC for the left buttons. A solution for the dual layer carbon pad contacts thing. It’s all been test fitted and should work, I just can’t afford to have them made.
Not wanting this to hold up my entire project Iv’e thought about a hack of a workaround.
I’m going to use my re-designed FPC as a template (printed to paper) and hot glue the tact switches into place. I’ll chop in half a cheap FFC cable and solder its wires directly to the tact switches.
It’s not amazing but it will (i think) work and get me going again. I don’t want to be hung up on this custom FPC issue.
The other benefit is someone attempting to build this in the future has options, they could have the custom FPC’s made for a more professional finish or if there skint like me do this DIY solution instead.
Hi, my names Stephen Cooper, I'm a software engineer specialising in web-based technologies.
I'm probably not qualified to talk to you about what ever it is I've just talked to you about.
Why not reach out on Twitter to see what I'm upto?